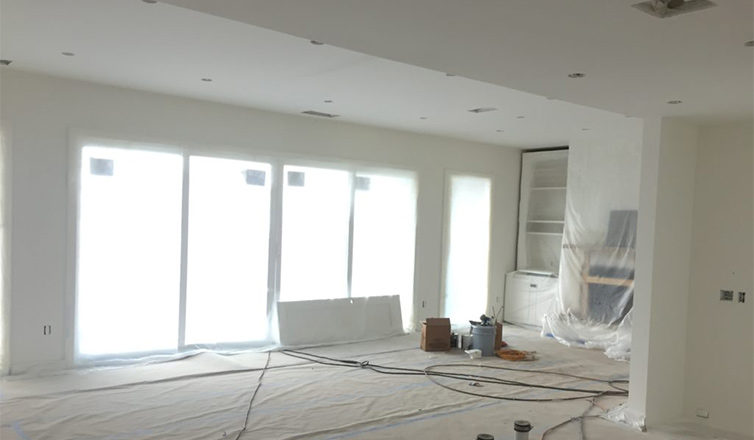
What do you think is the most dramatic change you can make in a room? New accessories, carpet, and even furniture can certainly change your aesthetic, but nothing can transform the entire mood and feel of a room like a new coat of paint. In fact, a complete change of color scheme on the walls can create a whole different visual of your furniture, and it is much more affordable. When you decide to change the color of your walls, however, you want to be sure to take the right steps to get a clean, fresh “designer” look. Don’t go into it blind—you need to start with a plan, know your techniques, and know each step you will take before you begin. The last thing you want to do is create a mess or end up with a hideous room that you just can’t live with. Before you set out to give your room a makeover, consider these tips.
Don’t Jump the Gun
For starters, remember that ideas often look very different in your mind than they do in real life. The last thing you want to do is move your furniture, get a can of paint mixed, and start rolling it on without doing a little planning. If you have a great idea, the first thing you want to do is get a few paint swatches with colors that match your idea and bring them home. Select your favorite based on the room’s lighting at different points of the day, and hold the swatches up to your furniture to be sure the colors complement, not clash with, each other.
Once you have your favorite, you’re ready to go, right? Well, maybe not quite. If you are making a drastic change, especially to a much bolder color, it is wise to get a sample can of your color choice mixed. Most home improvement stores sell these in an 8 oz. size. Remember that you will also need to choose the sheen of your paint. Matte and eggshell are often good choices for a living room, but your local paint store or home improvement center should be able to answer any questions you have about these finishes. The tiny paint swatches you brought home will give you an idea, but they still won’t show exactly how the paint will look on your wall, and you don’t want to buy a bunch of paint that you may end up not liking and having to paint over.
Once you have your test paint, choose a spot on a wall that is visible from all angles and gets natural light during the day. Paint a test area at least 1”x1”, but a larger test will give you a better idea. Once the paint has dried, you will be able to see exactly how it will look on your walls, and with your furnishings, both during the day and at night.
Ditch the Dirty Used Brushes
The first step you want to take once you’re ready to paint is to gather all your supplies. You want to make sure to have new supplies to get the best results out of your project. You may be tempted to use old brushes that you’ve had around the house for years, but even if they have been washed, they may still contain remnants of old paint, dust, and debris that can mar your new paint job. Some of the supplies you should buy include:
- Trim tape
- Drop cloth
- Ladder
- Spackling
- Sandpaper
- Paint buckets and trays
- Paint rollers
- Various sizes of brushes
Keep in mind when you buy your brushes and rollers, that higher quality products produce better work. Those paintbrushes you see at the dollar store may be fine to paint the shed out back, but they can leave brush marks and bristles on your interior walls that you will wish you had avoided.
Make a Clean Break
After you have all your supplies and empty the room, go ahead and lay down your drop cloth to protect the carpet. Before you paint, though, you should always clean the walls. Any dust and debris that has settled on the walls can affect your paint job, and if any spots need patching, you will want to get this done before you start painting. Small holes are easy to fill in with spackling, and small patch jobs are often easy to do with a bucket of joint compound and a trowel. Once you finish patching, sand the area so that it is smooth and even with the rest of the wall.
Get to Work
Now that you are all prepared, you can start the fun part. If you have had several cans of paint mixed, they should be the exact same color, but there could always be very slight variations. To avoid any uneven spots on your walls, mix all the cans together in a large bucket first, and then dump it back into the smaller ones. If you are painting the trim, you should get that done first; that way, you can tape it off after it dries, and start on the walls. Roll your paint on the walls evenly, in one smooth motion, the entire height of the wall. Any unevenness as you roll the paint on may be noticeable after it dries.
Never Hesitate to Call in the Pros
Although some DIYers love painting, others really hate the job. Some people simply don’t feel confident in doing it themselves. You don’t want to start the project and then not have the motivation to finish it yourself. If you want to change your paint color, but don’t want to go it alone, reach out to the professional Austin painters at PaintPro today. Our interior paint specialists in the Austin area would be glad to answer any of your questions, help you to make the best choices, and take the job on for you if you prefer a professional touch.
