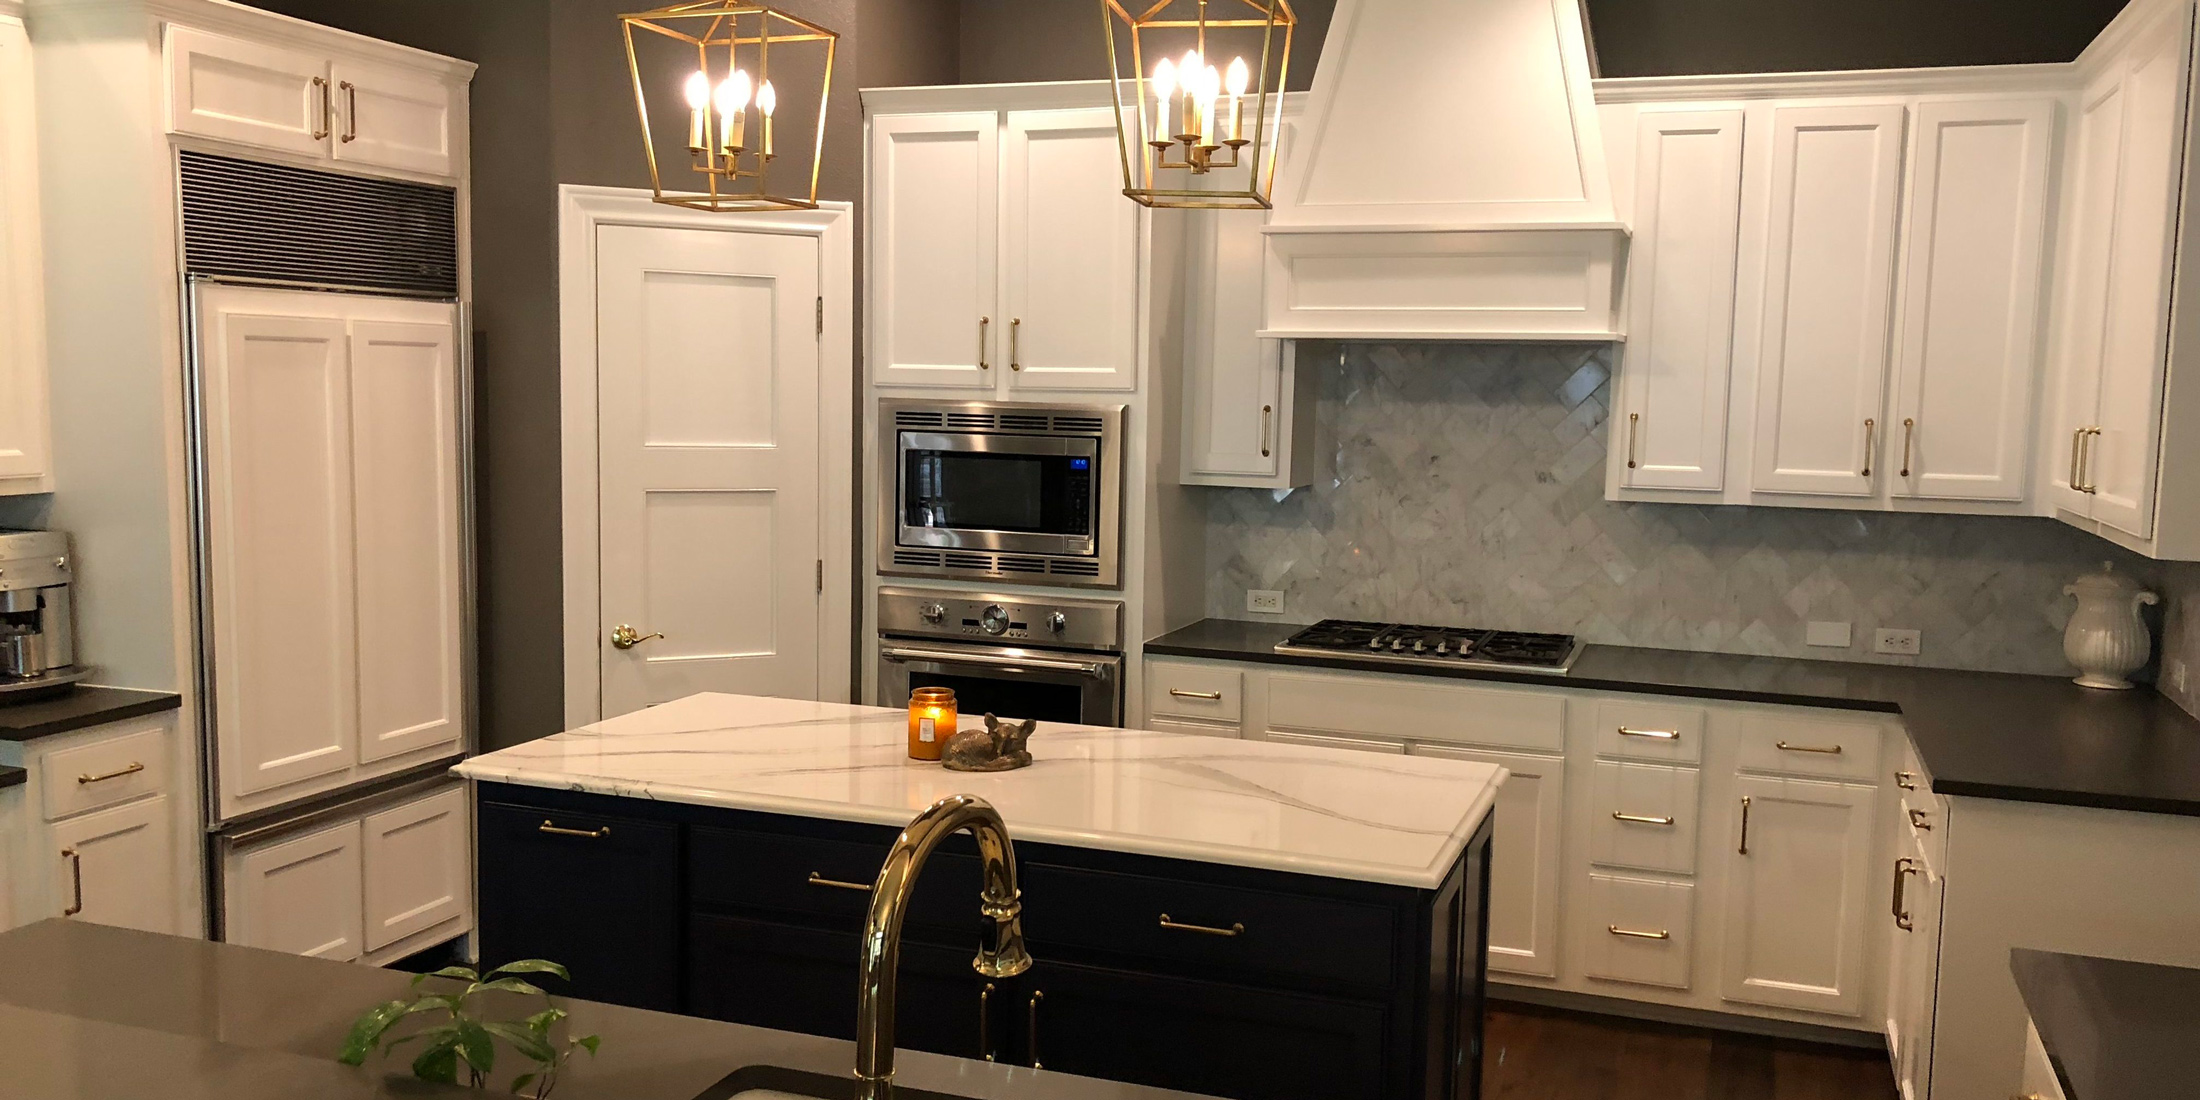
Many homes have sturdy, quality kitchen cabinets that serve their purpose but look dated or have scratches and dings that make them look worn out and unattractive. If you want to give your kitchen a makeover, but don’t have the budget for a full remodel, you may want to consider updating your cabinets. Before you decide to paint, be sure to inspect your cabinets and decide if they are worth repainting. If they are made of cheaper materials like particleboard or have sustained water damage over the years or have sagging or broken shelves, you may want to consider all-new cabinets. If they’re in great shape, though, repainting is a great way to spruce things up.
Is Repainting Worth It?
Some homeowners choose to reface their cabinets, but when you’re working on a budget, this can be costly. Refacing often costs as much as four times the cost of repainting. Even if your cabinets aren’t in bad shape, you may want to get new ones, but this is another expensive undertaking. New cabinets may cost as much as 10 times the price of repainting, and often the quality of the cabinets is not as good as the ones you have. Therefore, repainting kitchen cabinets to modernize their look has become a popular option for DIYers.
If you choose to repaint your cabinets, follow these steps. You may choose to paint only the cabinet doors and front surfaces or do the interior as well. If you are painting the interior of your cabinets, start there and do the doors, drawers, and shelves after. If you are not painting the interior, start with the cabinet boxes’ front surfaces and then jump to the shelves, doors, and drawers.
Step One: Get Your Room Ready
Start your project by emptying your cabinets and drawers, and take all your small appliances and other items off the countertops. Move any kitchen furniture out of the room, and cover large appliances and backsplashes with plastic sheeting. You will also want to hang sheeting in any doorways leading to other rooms and cover your countertops and floor with rosin paper. Last, tape off the wall around your cabinets, and set up a worktable to paint your shelves, drawers, and cabinet doors on.
Step Two: Disassemble the Cabinets
Now that you’re ready to get to work, remove your shelves, drawers, and doors, and remove all hardware. To ensure that you can reassemble everything properly, number the edges of cabinet shelves and the drawers’ underside. You can number the doors in the area behind the hinge you removed and cover it with a small piece of tape. Create a rough drawing of your cabinets and number the areas where these items go, so you know where to put them back.
Step Three: Start With Clean Surfaces
Clean all parts of the cabinets, inside and out, with regular household cleaners. If there are areas that won’t come clean, you may want to try a more powerful cleaner like trisodium phosphate. Rinse everything well after cleaning and allow all pieces to dry before getting to work.
Step Four: Prepare the Surfaces
After everything is clean, you will want to use a liquid deglosser and an abrasive pad to scrub the surfaces. Have a rag on hand that is damp with deglosser, and use it to wipe away the residue as you go, before the deglosser evaporates. Once you finish this, fill the holes left by the hardware you removed with wood filler, and sand all the surfaces with 100-grit sandpaper. Vacuum all the sanding dust from inside the cabinets, and rub everything down with a tack cloth.
Step Five: Prime Time
If you are repainting cabinets with a heavy stain, you may choose to use a stain-blocking primer as an extra precaution, but many times, latex or oil-based primer works well. Staring at the top of the cabinets, and working down, apply the primer across the grain, and then brush over the wet finish with the grain before the primer dries.
Step Six: Sanding
Once your primer has dried, sand all surfaces with 220-grit sandpaper until the wood feels smooth. If there are any damages such as scratches or dents that you need to fill in, fill them with caulk or vinyl spackle, smooth with a putty knife, and re-sand after it dries. Vacuum off the surfaces when you finish sanding, and wipe down with a tack cloth.
Step Seven: Paint Cabinets
Remember to start with the interior, and do the rest after, unless you are not painting the interior.
In most cases, one or two coats of paint will do the job, but if you are painting over a dark color with a lighter one, you may need three coats. Paint across the grain first, then pass the brush over the wet surface with the grain, just like you did with the primer. If you are painting the interior of the cabinets, you can use a smooth-surfaced mini roller. Sand the surfaces lightly between coats, and use a vacuum and tack cloth to clean up debris.
Step Eight: Put Things Back Together
Once everything is dry, reassemble your cabinets according to the numbered template you created. To further update your new look, replace handles, knobs, and drawer pulls with newer styles that compliment your new cabinet color. You will need to drill new holes for your hardware because you filled in the old ones with putty. Be sure you don’t skip that step to save time, though, especially if you are using new hardware, as the holes in the new hardware may not align with the old ones.
Repainting kitchen cabinets can be a big project, but you will be amazed with your “new” kitchen once you finish everything. If you need advice or assistance with your project in the Austin area, the top-notch painters at PaintPro can help. Reach out to us today, and we will review your project plans with you to help ensure success.
